Introduction
As technology advances, voice automation has become one of the most used technologies in our lives, be it at home, in the car or in the office. With voice automation, it is now possible to control various devices by just using your voice command. In this article, I am going to discuss how to make voice controlled light using an ARDUINO UNO BOARD.
In this video I am showing, how to make voice controlled light using Arduino and an android phone. I have tried to make this video as easy as it can be. The relay board I used in this video, is home made. You find its DIY video link in the component’s List below. You can use any relay board instead. Android App and Android Code Links are also given in the components list below.

Circuit Diagram
of How To Make Voice Controlled Light
This Voice Controlled Light can be designed using a few basic components. The circuit diagram of this project is shown below.
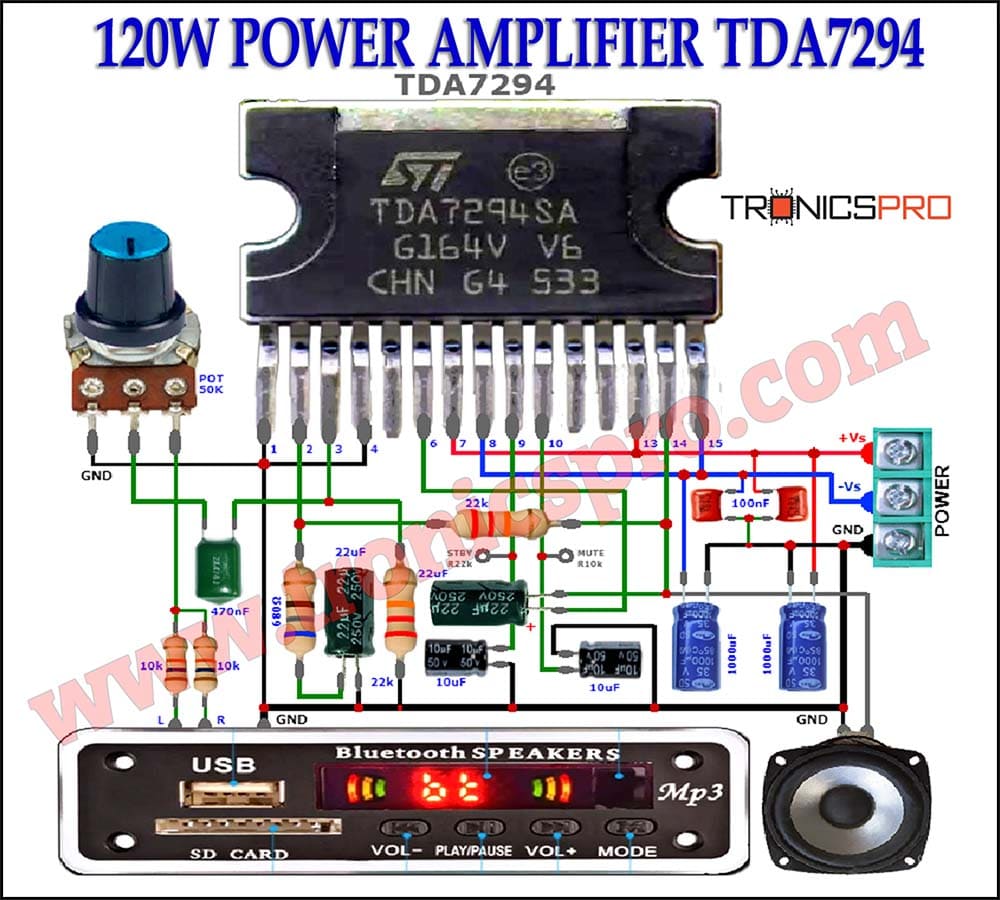
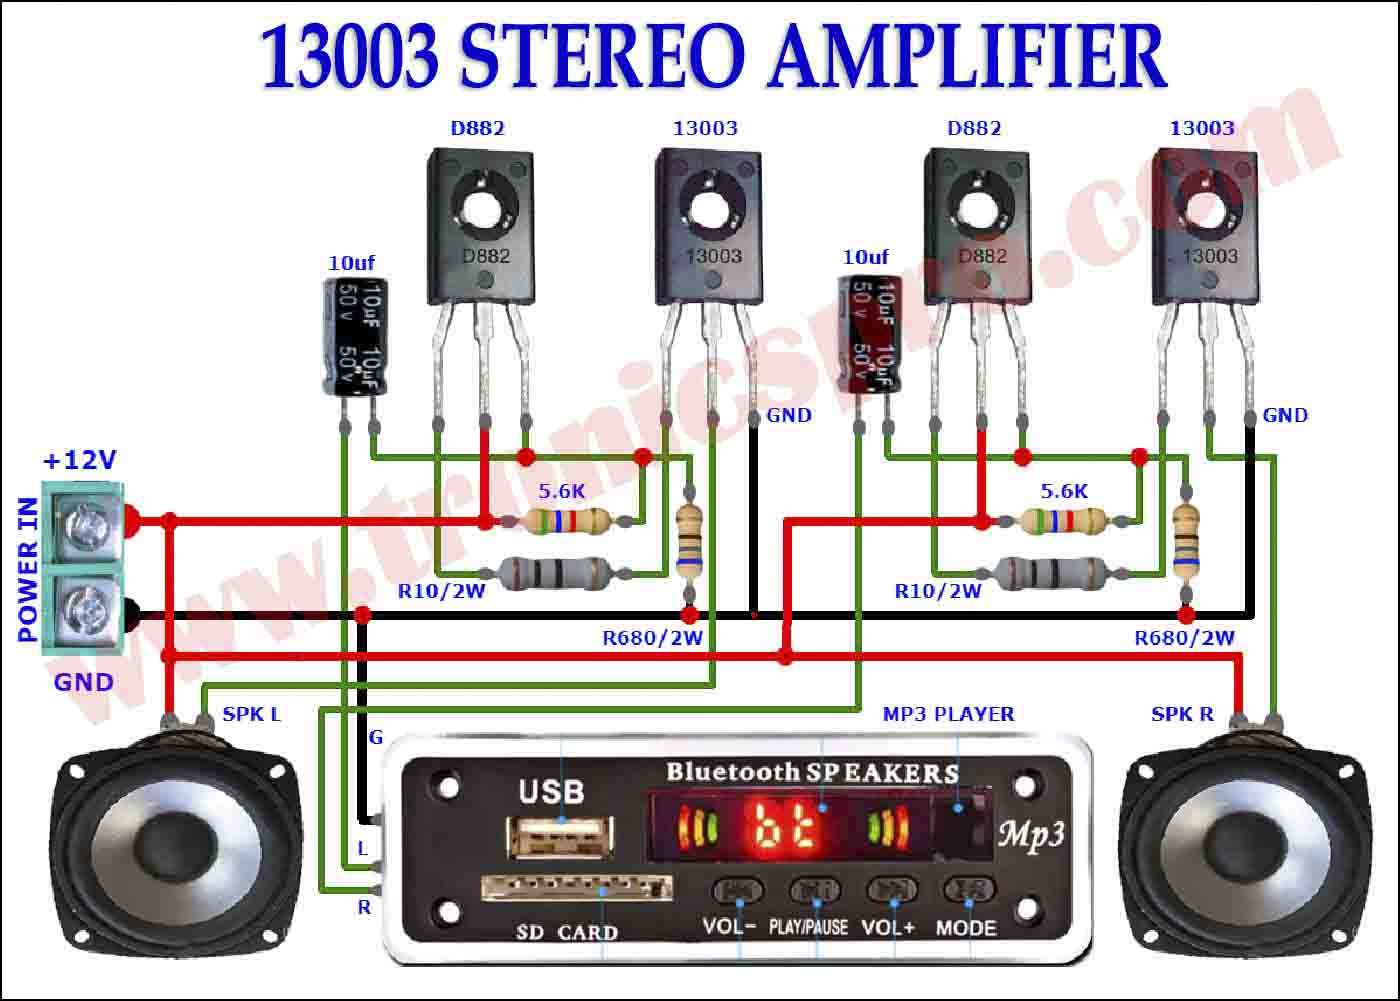
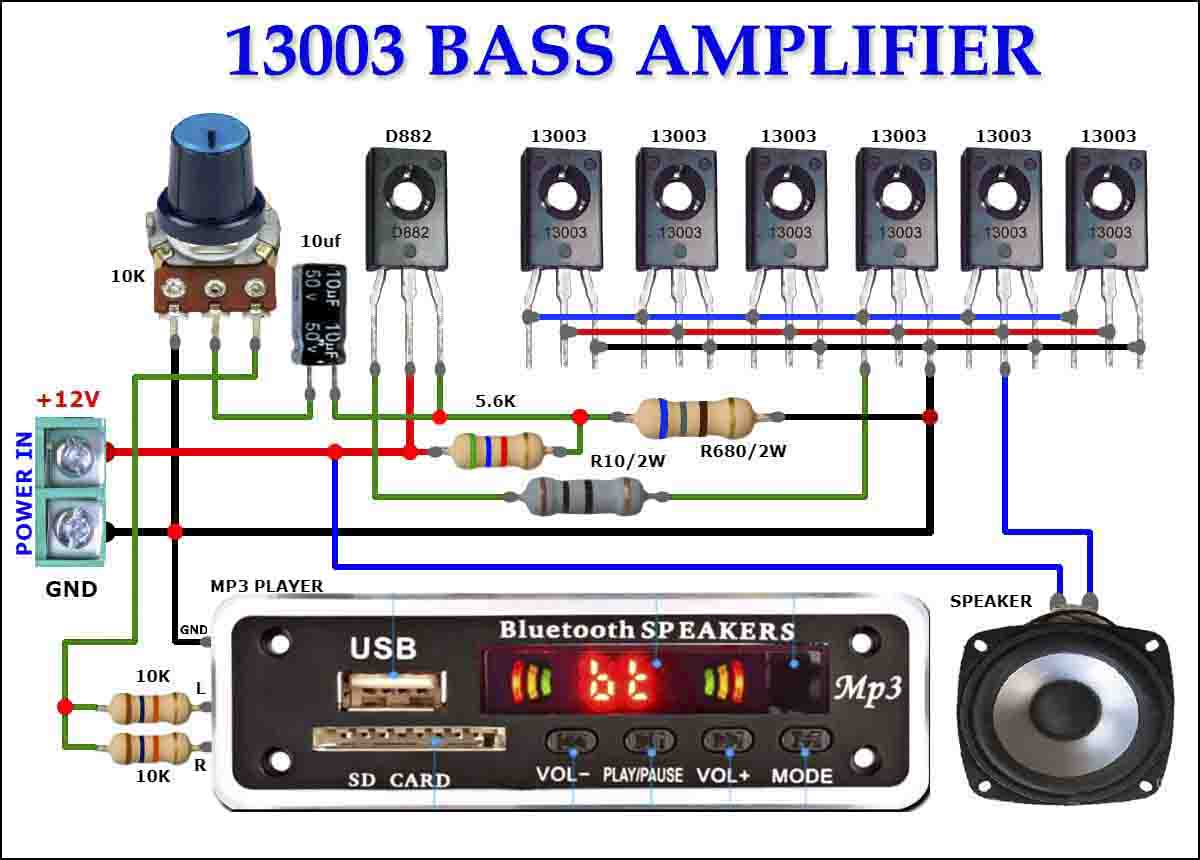
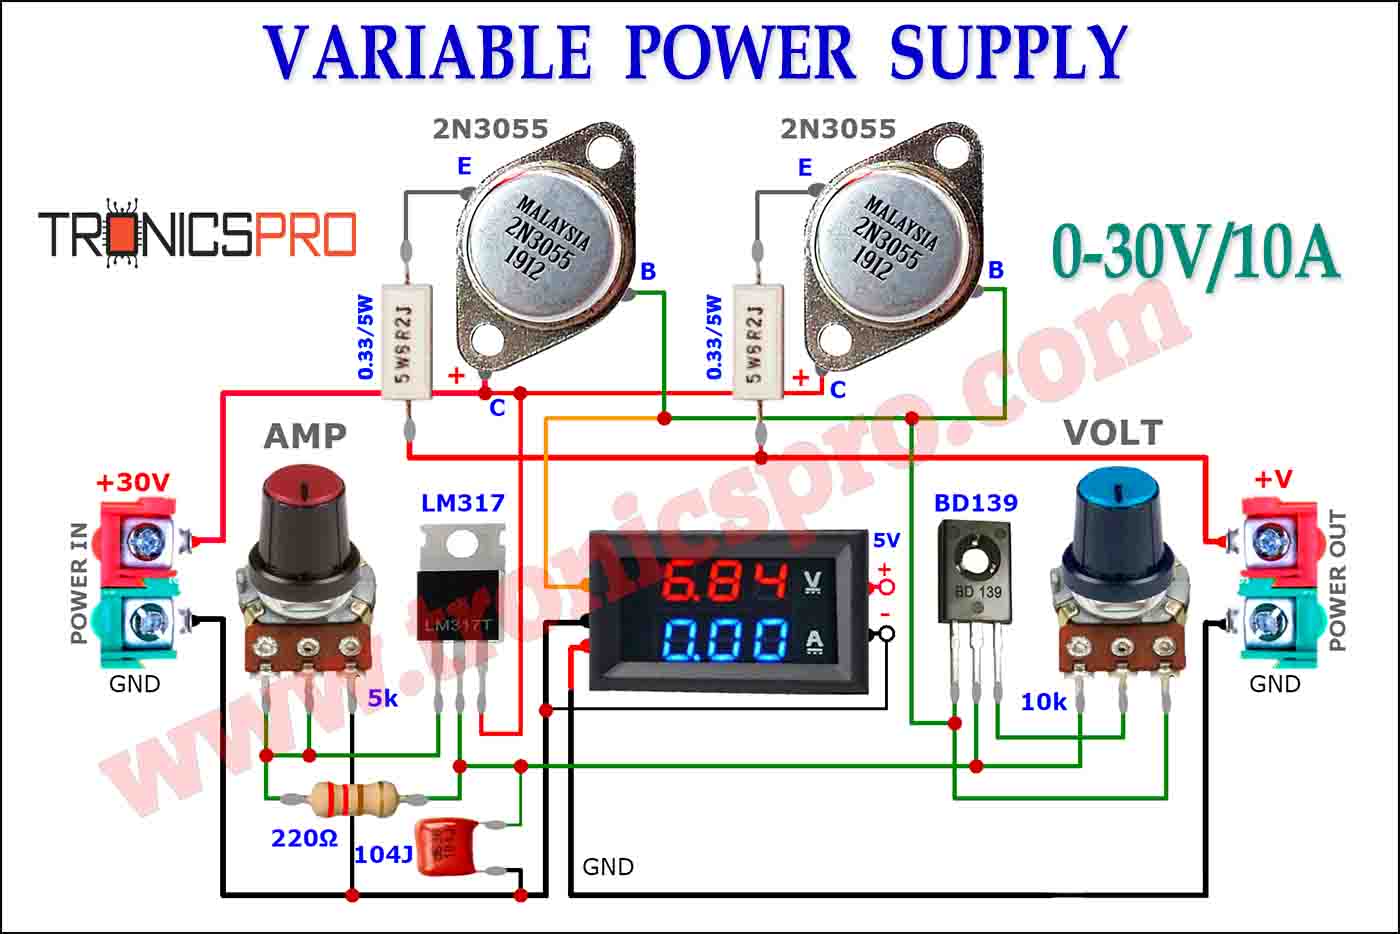
More Circuit Layouts

Components List of How To Make Voice Controlled Light
Following are the components used in this project:
- 1x ARDUINO UNO BOARD
- 1x HC05 BLUETHOOTH MODULE
- 1x RELAY BOARD
- 1X AC LED LAMP
- JUMPER WIRES
- 12V POWER SUPPLY
Android App
Android Code Link
Relay Board Video
More projects, You may like:
- Video Transmitter DIY Homemade FM Radio Transmitter
- Adjustable Power Supply DIY Battery Charger
- 12V-220V 500 Watt inverter DIY Homemade
- 12V-220V H-Bridge Inverter DIY Homemade
- MPPT Solar Charge Controller DIY Homemade
- 18650 battery bank free charge protection module
- D718 B688 Bass Amplifier Homemade DIY
- C5200 Bass Amplifier DIY Homemade with Volume
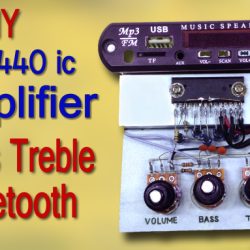
- DIY LA4440 bass amplifier homemade
- C5200 A1943 TDA2030 Amplifier DIY Homemade


