This device was invented by Nikola Tesla and is a great demonstration experiment. I demonstrated in this video, how to make your own a very simple mini tesla coil diy at home using minimum components. So, you can easily make this tesla coil at home. Therefore, I hope you will make it without any problems after watching this video.

Circuit diagram
List of components used in mini tesla coil DIY
- 2N2222A Transistor x 1
- 29k resistor x 1
- Primary coil 30 AWG copper wire / 2 or 3 turns
- Secondary coil (large) 26 AWG / 15 meters approximately
- PVC pipe 3/4″ diameter x 8″ length
- 12v on/off switch
- 9v battery
- CD/DVD casing for base (optional)
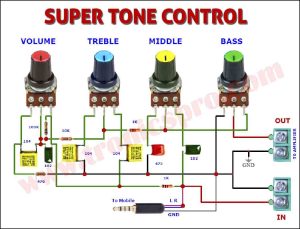
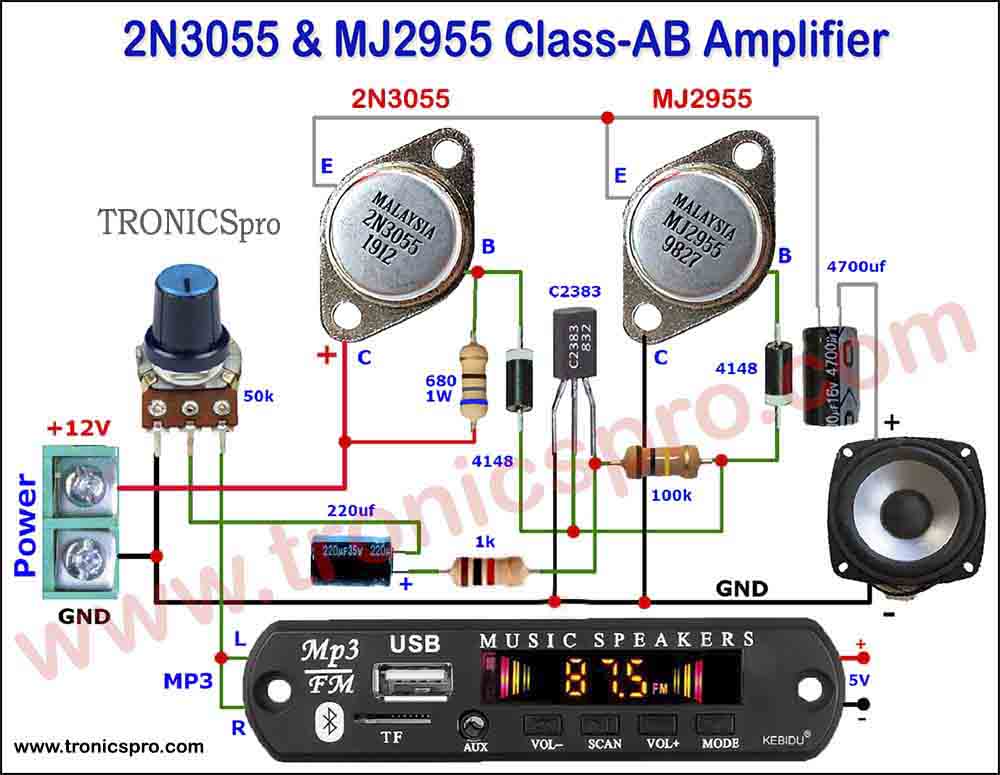
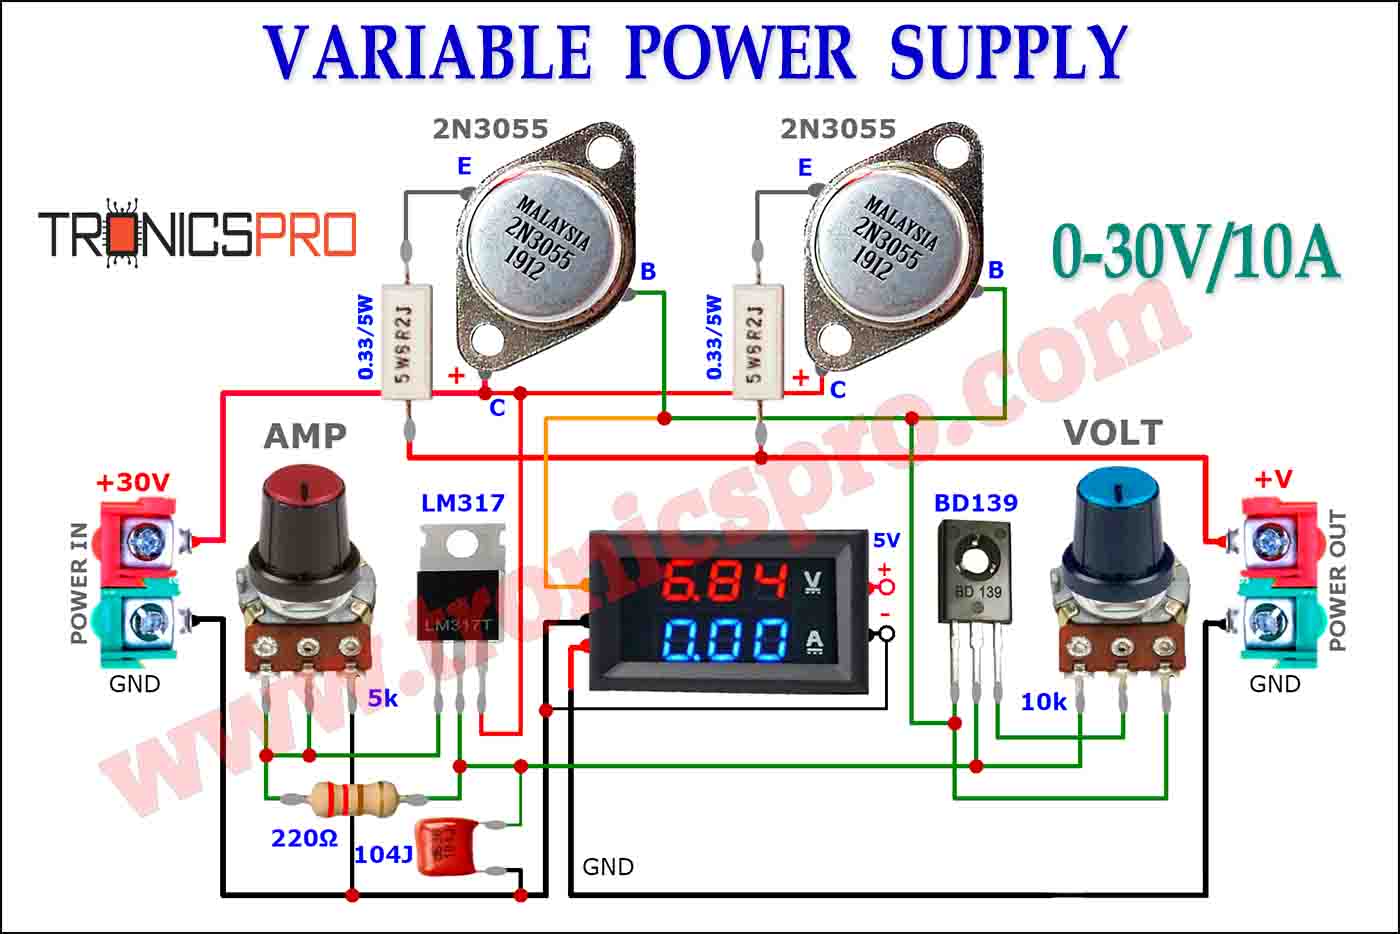
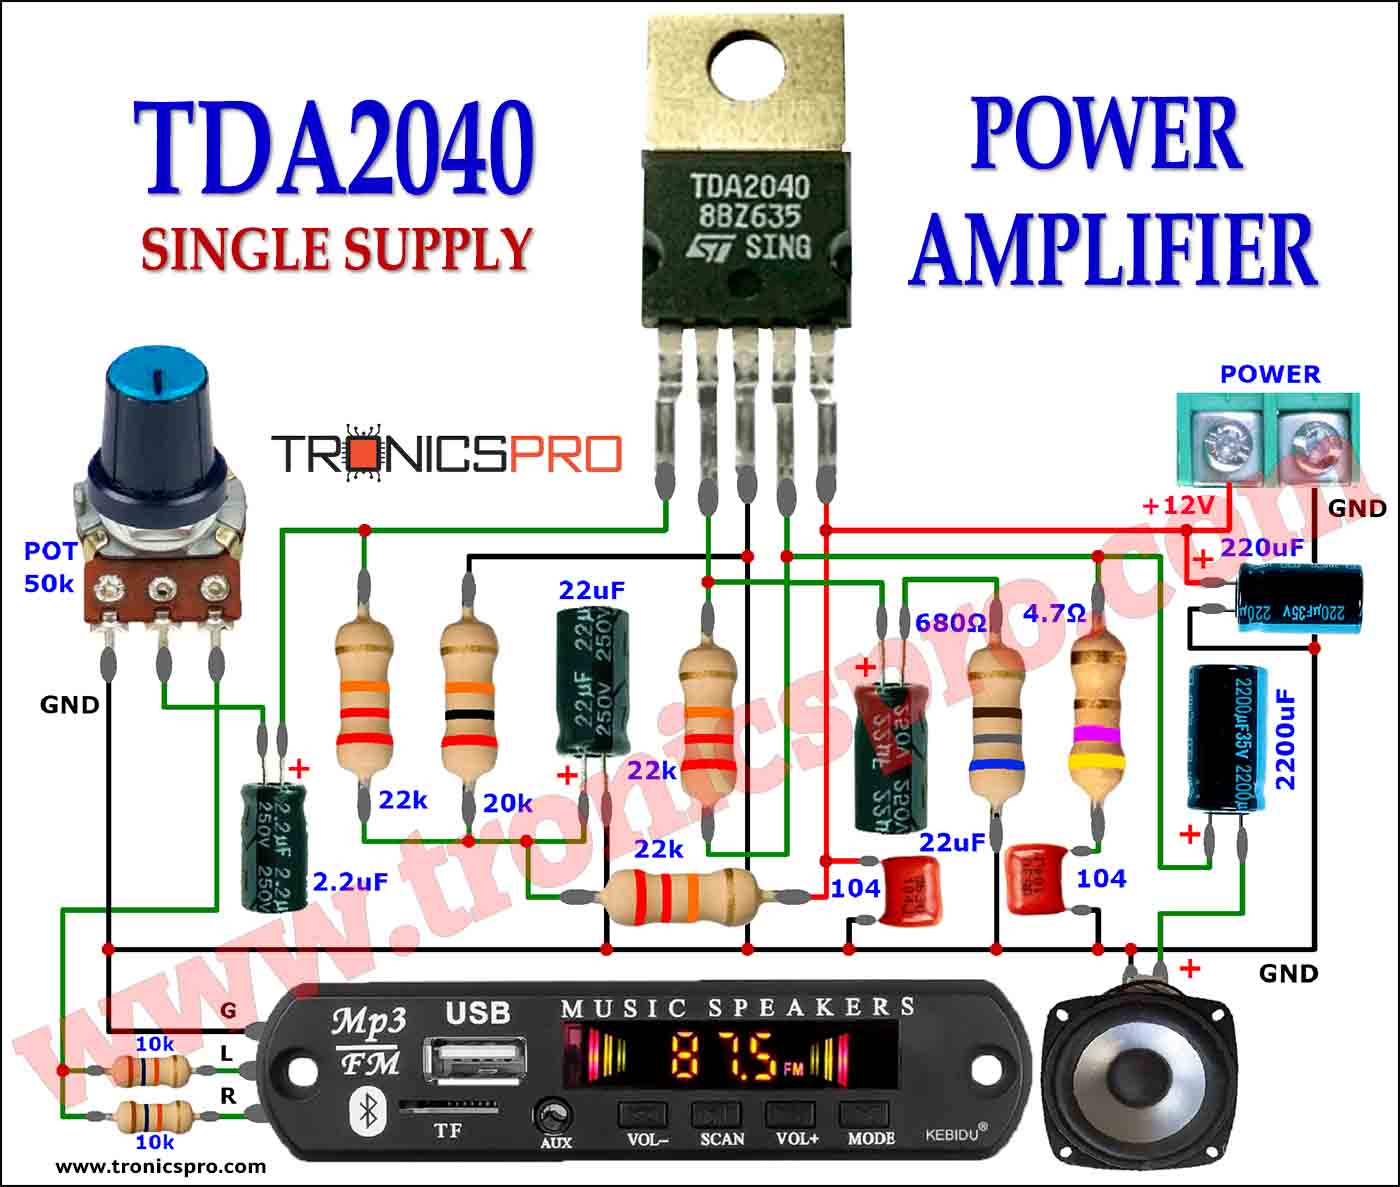
More Circuit Layouts




Development images
of the project mini tesla coil diy
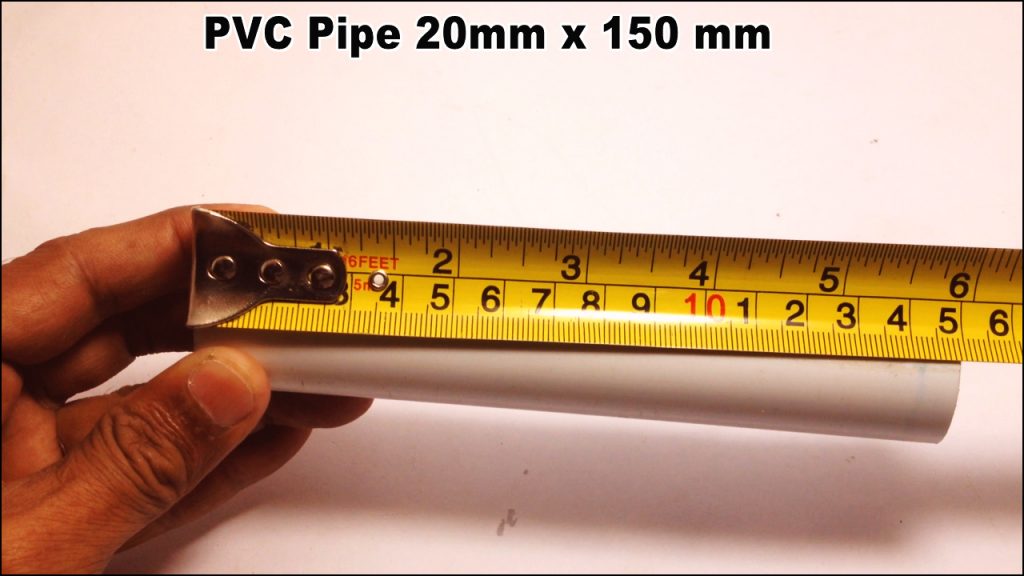
Use 3/4″ PVC Pipe with length of 6 inches. Also, you can roll any card board sheet and make in tube shape of 6 to 8 inches. Be sure, the pipe should not be metallic.
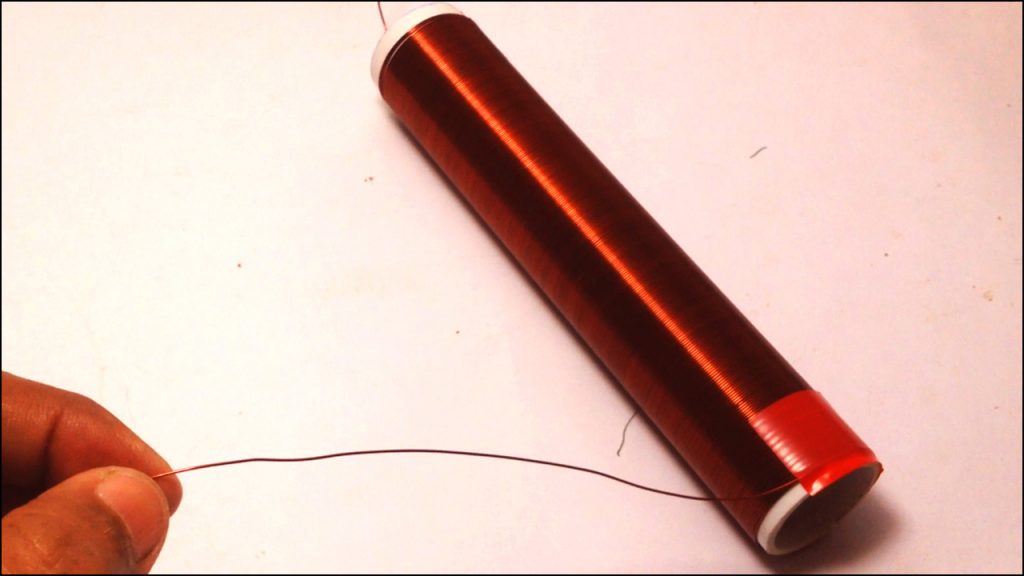
Use 26 AWG magnetic wire which is also called copper enameled wire. This kind of wire is mostly used in motor winding and in transformers. 15 meters length is enough to roll for this length. So, this will be a Secondary Coil of the project.
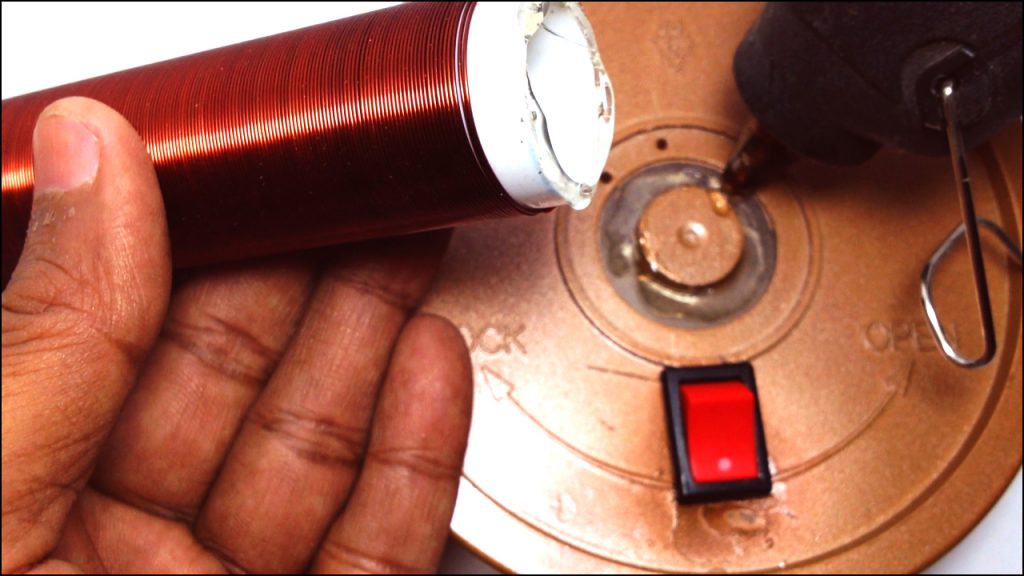
Glue it on both sides and stick with the base vertically.
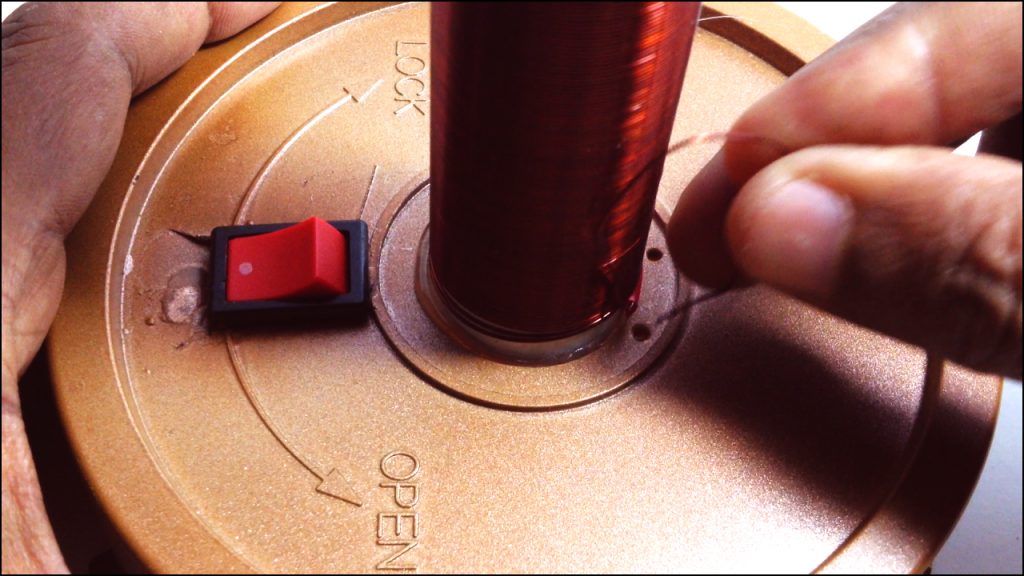
This large coil is a Secondary Coil. Insert the bottom end of copper wire into base for further connection with the other components.
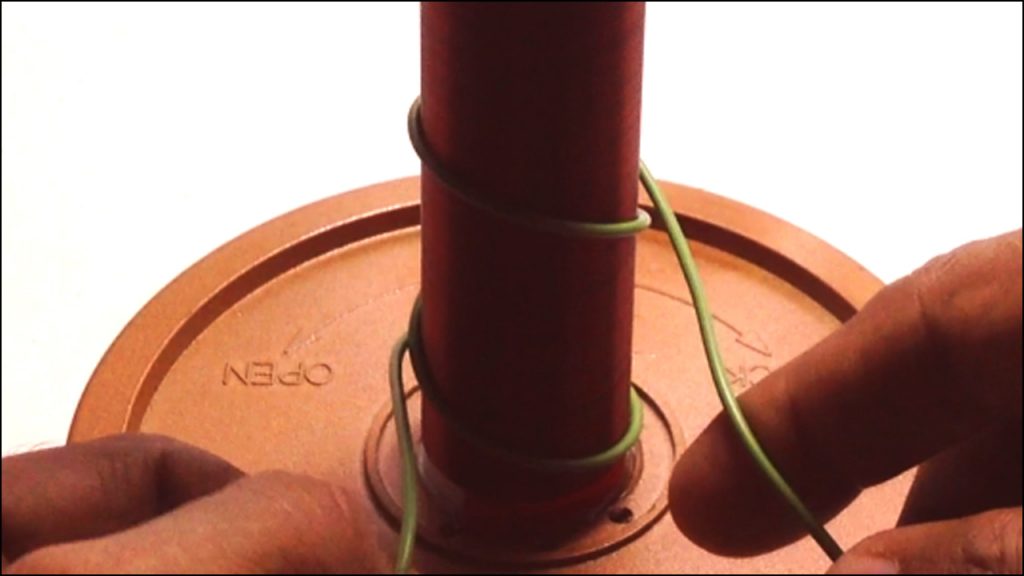
Use 30 AWG wire and turn around the secondary coil 2 or 3 times and insert both ends inside the compartment through holes. I used here, an ordinary connection wire instead of 30 AWG.copper wire.
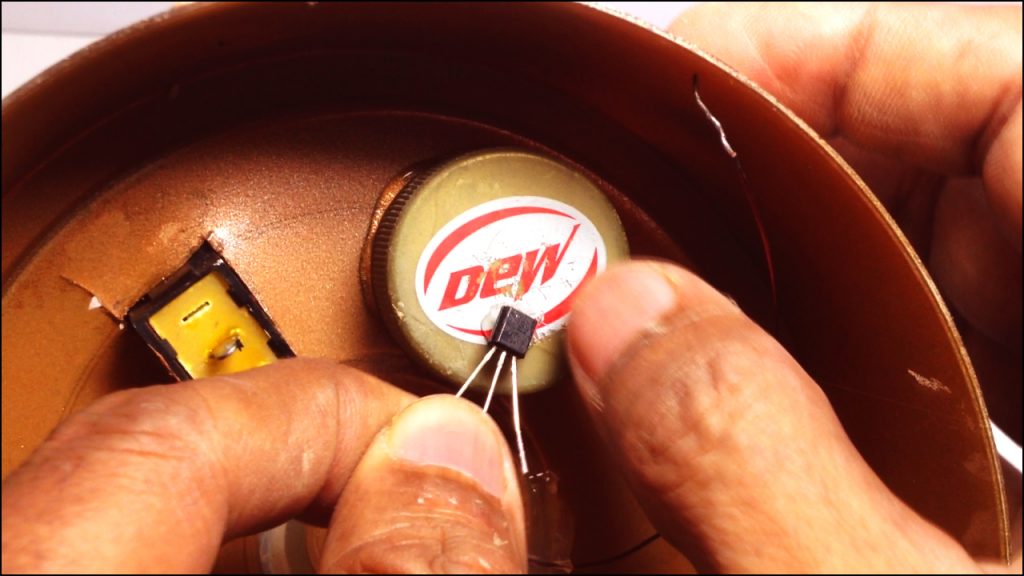
Now, stick the transistor 2N2222A in any safe place for further connections. Be sure, the plain surface of this transistor should be upward accordingly.
Connecting the components
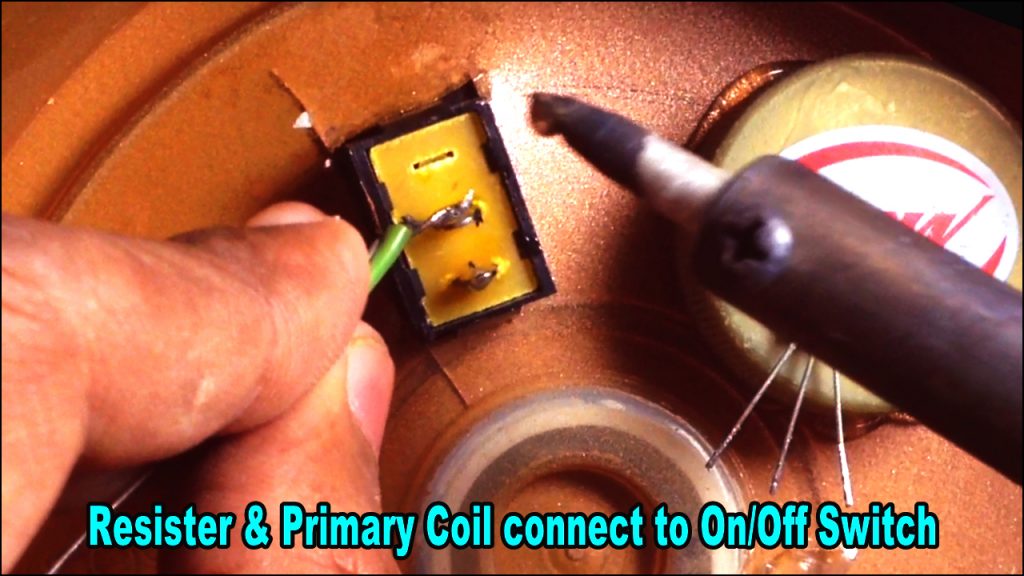
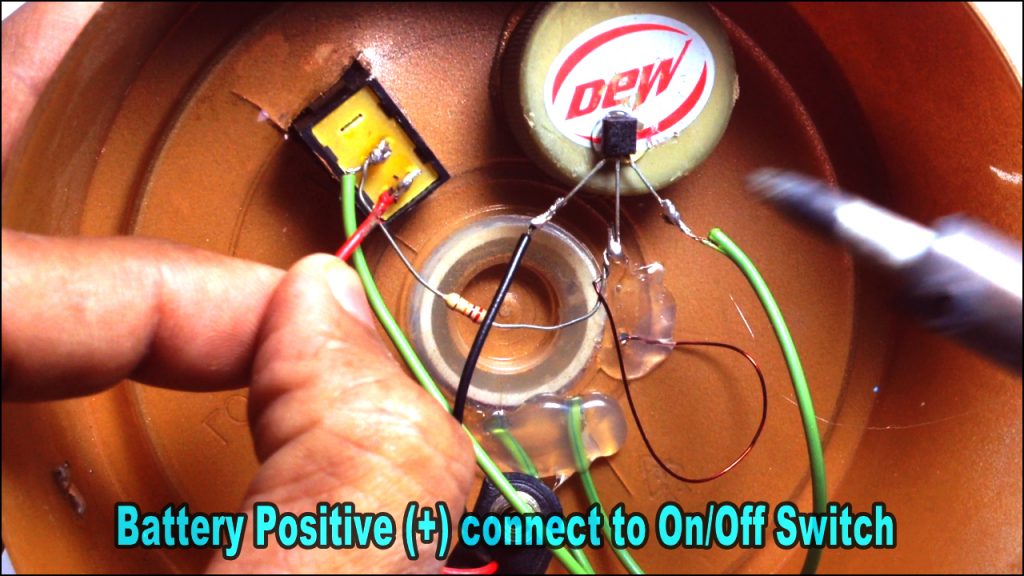
Connect one end of 30 AWG wire of primary coil and one end of 29k resistor, with On/off Swich.
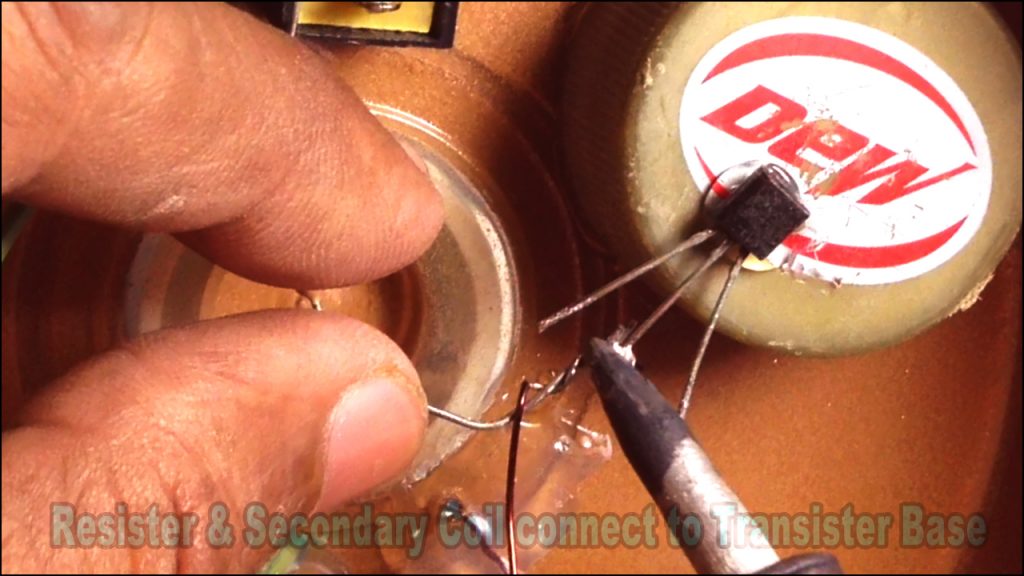
Connect the other end of 29k resistor and one end of large second coil with the transistor’s center pin.
The other end of 30 AWG wire of primary coil should be connected with the right most pin of the transistor.
The negative wire (black) will be soldered with left most pin of the transistor and the Positive wire (red) will be soldered with the second pin of On/off switch. Here you will complete the inner connections.
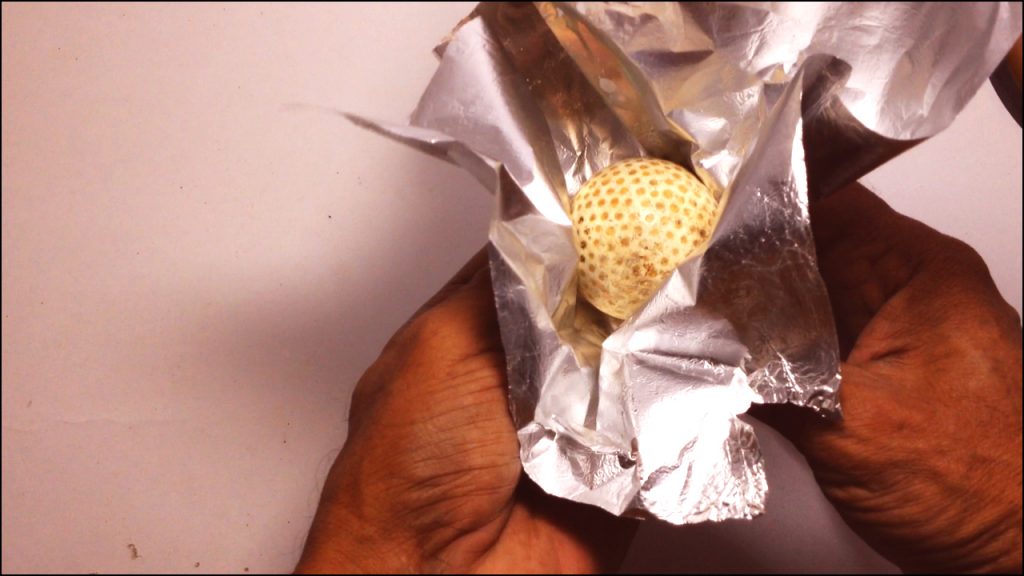
Take any kind of small ball and wrap into the aluminium foil. Ball is used to make the foil in round shape. You can use only the aluminium foil and make in round shape.
Remove the enamel coating from end of wire and insert inside aluminium foil. Stick the ball at the top of the PVC pipe. This ball looks like an antenna and used as a decoration piece. The coil will also work without this ball.
Attach the 9 volt battery with the circuit and stick in safe place of the compartment.
Switch ON and move any compact fluorescent lamp (CFL) around the coil nearby to glow its tube.
All fluorescent light bulbs and tubes will work with this circuit even they are small or large.
Enjoy the project and thank you so much for visiting the website.




















Use minimum 29k or higher value resistor to avoid heating up transistor. Download circuit diagram and reconcile all connections. Video is not fake.
I have made it but does not work what changes should I did?
Does it also work with 9 w led
Can you suggest any magnetic project to generate electricity
All projects getting free energy with magnets, are fake. Only the projects rotating through wind or water and magnets are involved, are true.
This Tesla Coil is also not generating free energy. Its just creating magnetic field around the coil which glows the gas inside cfl bulbs & tubes.
What project say for wind could you suggest? Sounds interesting to try to make one? Thank you.
cant find a 29k resistor got any ideas. I live in the mo kansas city area
Use any values two resisters whose total is nearly 29 or 30k
Like!! Great article post.Really thank you! Really Cool.
I’m really impressed with your writing skills as
well as with the layout on your weblog. Is this a paid theme or did you customize it yourself?
Either way keep up the excellent quality writing, it is
rare to see a nice blog like this one nowadays.
Thank you so much for visiting & comments.
Hi, i think that i saw you visited my weblog thus i came to ?return the favor?.I am trying to find
things to enhance my site!I suppose its ok to use some of your
ideas!!
send project report of 30 pages to my mail
I think you have remarked some very interesting details , appreciate it for the post.
Thank you so much for visiting & comments.