Introduction
Arduino Batch Counter DIY: Counting Your Way to Efficiency
Arduino Batch Counter DIY is a great tool for those who want to count items and batches. It allows users to monitor production lines, inventory, and other processes that involve counting items. It is a powerful, customizable tool that can be made by anyone with some basic knowledge of electronics and programming.
In this article, we will discuss how to create an Arduino Batch Counter DIY, what you will need, and how it works.
What is Arduino Batch Counter DIY?
Arduino Batch Counter DIY is a project that uses an Arduino board to count batches of items. You can use it to count a wide range of items, from products during manufacturing to items in your inventory.
In the following video, I made a batch counter using Arduino. It is a reprogrammable counter and can be used for many applications. I hope this video will be helpful for your knowledge.

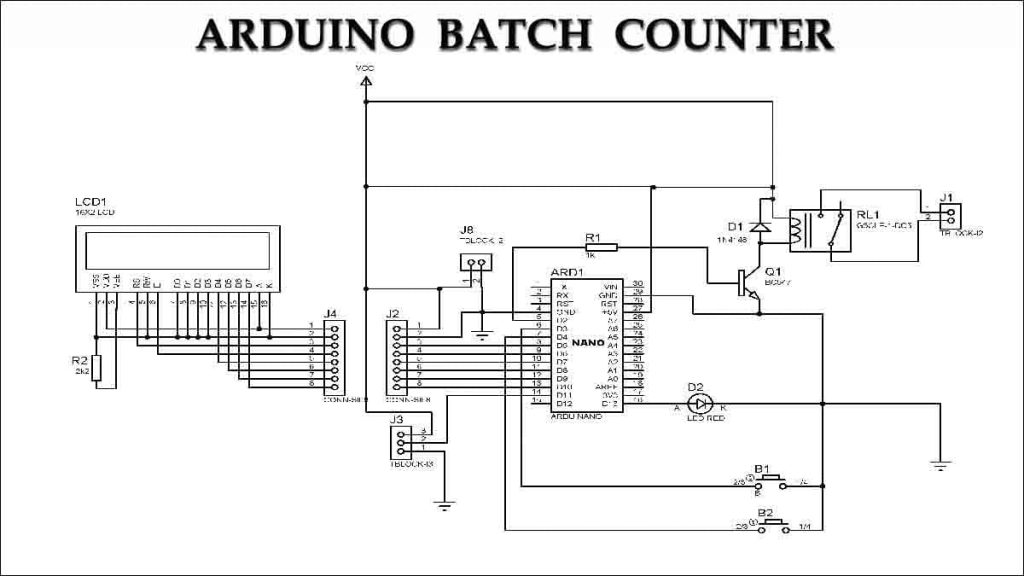
Circuit Diagram
of Arduino Batch Counter DIY
The circuit diagram of the Arduino Batch Counter is a simple electronic circuit that makes use of an Arduino microcontroller, a sensor, and an LCD display. The sensor is used to detect the objects passing through a specific point in the production line, while the microcontroller counts the number of objects counted by the sensor. The counted objects are then displayed on the LCD display in a digital format. The circuit is built on a professional PCB and requires very few components. It can be easily replicated and modified to suit specific requirements. It finds its application in industries where objects need to be counted efficiently and accurately.
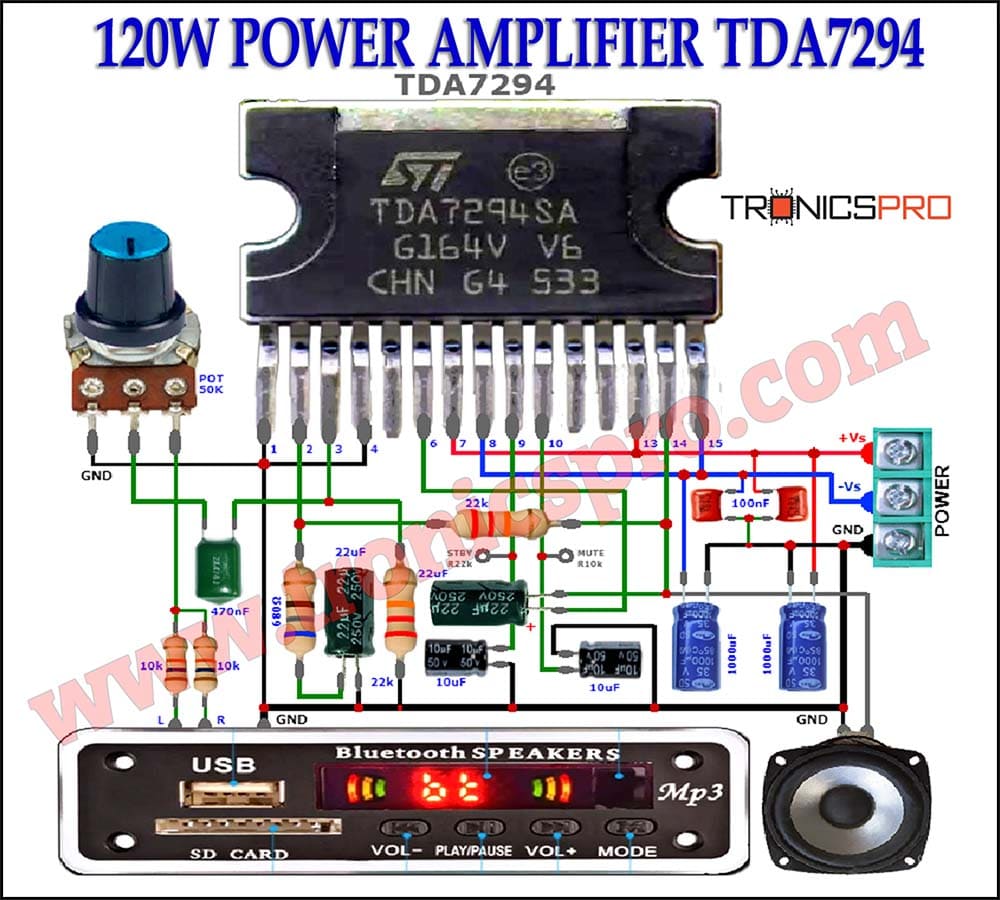
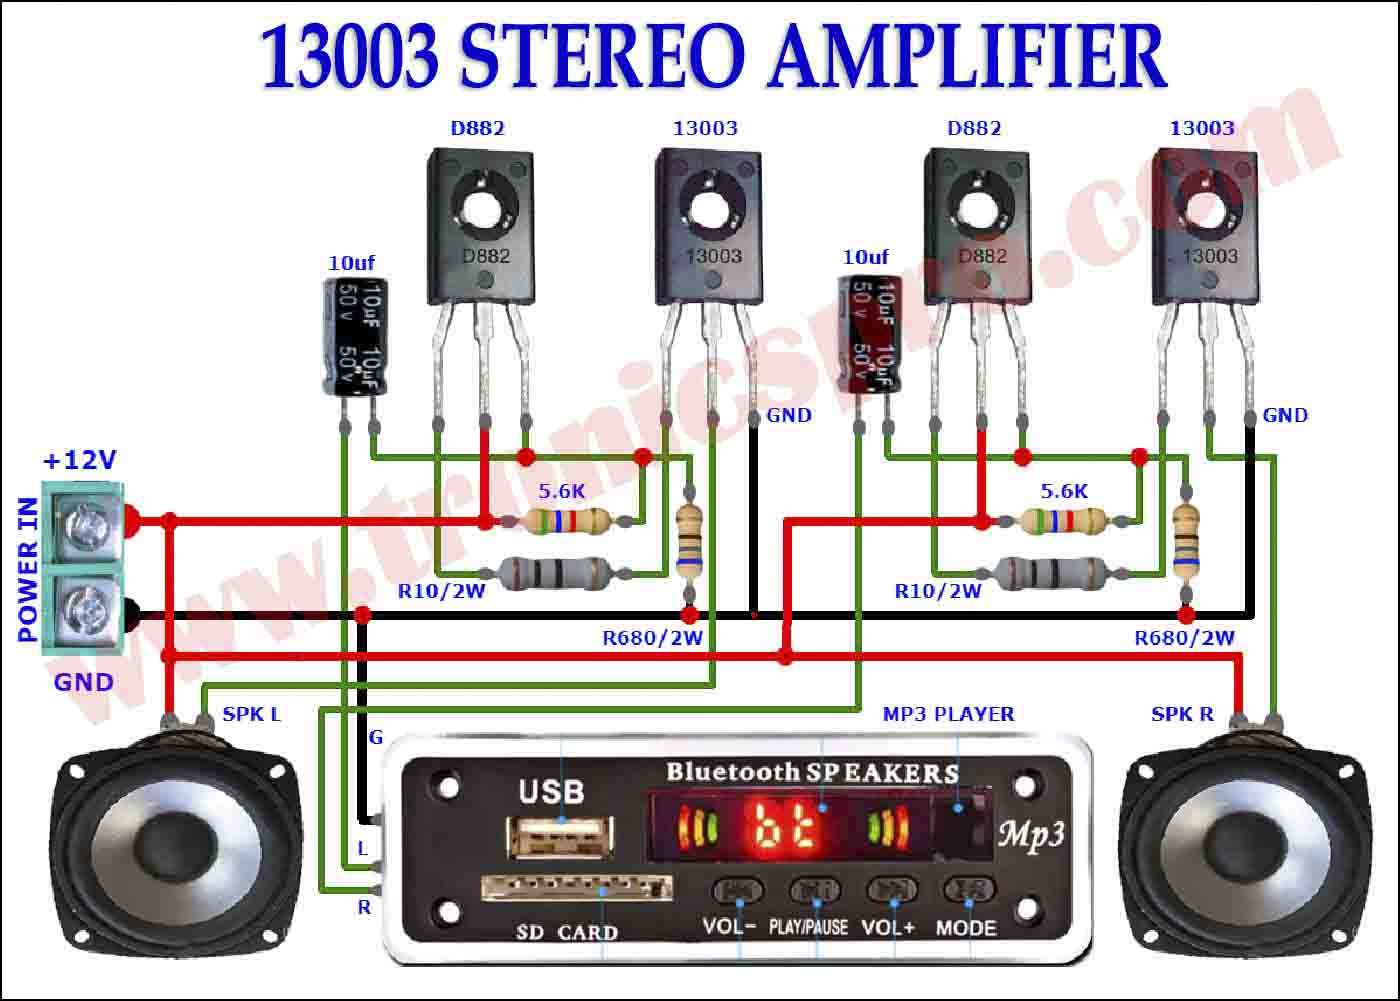
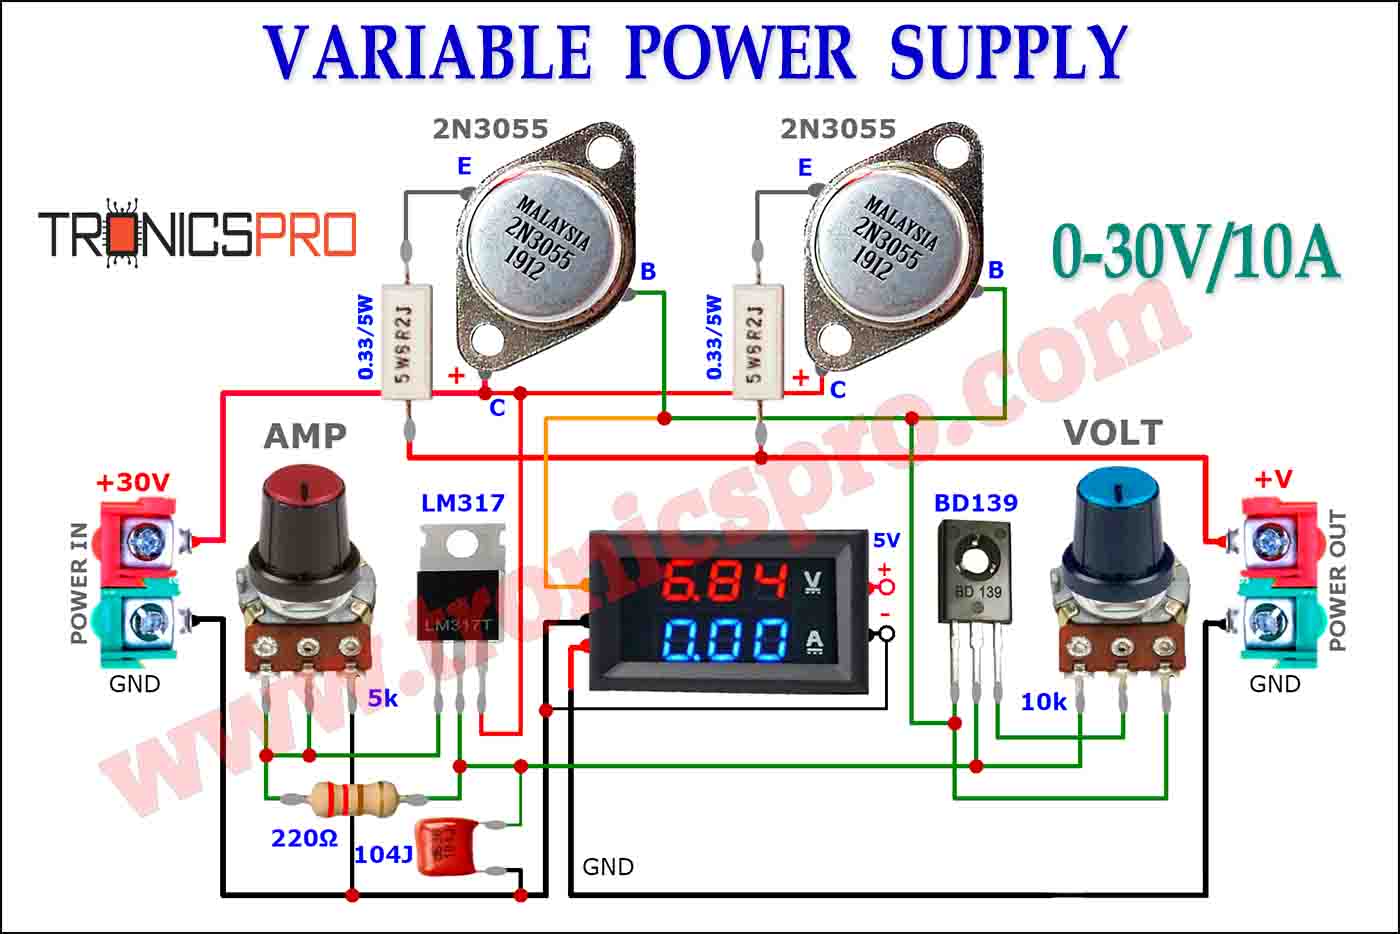
More Circuit Layouts




Components List
of Arduino Batch Counter DIY
What You Will Need?
To make an Arduino Batch Counter DIY, you will need the following components:
- 1x Arduino Nano Board
- 1x 16X2 LCD Display
- 1X BC547 Transistor
- 1X 1N4148 Diode
- 2x Push Button Nano
- 1x LED
- 1x 1k Resistor
- 1x 2k2 Resistor
- 1x 5V Relay
- 2x 2 Pin Terminal Blocks
- 1x 3 Pin Terminal Block
- JUMPER WIRES
- Arduino Codes:
- https://drive.google.com/file/d/1oq9SHZi7jOgNkKPQQHJkOynoOiWySiku/view
- https://drive.google.com/file/d/1wqxNBtbNEopStFZ2IWkbl6jafgkzHzEN/view
- https://drive.google.com/file/d/1vinl46rQkMbX6ulzIE-SBlb92QHZvrNQ/view
Working Explanation
of Arduino Batch Counter DIY
How does it work?
The Arduino Batch Counter DIY works by using the Arduino board to count the number of items that you have. The board reads electrical signals from a sensor or switch that you connect to it. The sensor or switch can detect when an item passes a certain point or falls into a container, and then it sends a signal to the Arduino board, which determines that one item has been counted.
The Arduino Batch Counter can display the total number of items counted on an LCD or OLED screen. It can also include buttons or switches to reset the count or increment the value.
To create the Arduino Batch Counter, follow these steps:
Step 1: Gather the components.
Assemble all the components that you need. Make sure that they are of good quality and will work well together.
Step 2: Install the Arduino IDE.
The Arduino IDE (Integrated Development Environment) is the software that you will use to program your Arduino board. You can download it from the Arduino website.
Step 3: Prepare the breadboard or PCB.
Connect the power and ground rails on the breadboard. Insert the Arduino board onto the breadboard. The power supply and other components will connect to the breadboard.
Connections
Step 4: Connect the components.
Connect the components to the breadboard. Connect the LCD/OLED screen to the breadboard with jumper wires. Connect the switches (if you want them) to the breadboard. Connect the power supply, and make sure your Arduino is receiving the correct current for the device used.
Step 5: Write the code
Open the Arduino IDE and write the code. You can use the code that we will share below as a reference. Customize the code according to your preferences and based on the components you have used in the project.
Step 6: Upload the code.
Connect the Arduino board to your computer and upload the code. Your Arduino Batch Counter is now ready to use.
Conclusion
In conclusion, creating an Arduino Batch Counter is not complicated, and with basic electronics knowledge and programming skills, anyone can do it. It is a useful tool that can help to manage inventories, monitors production lines, or counts anything you need. With a little bit of customizing and upgrading, it can be made to meet your needs perfectly.
More projects, You may like:
- Video Transmitter DIY Homemade FM Radio Transmitter
- Adjustable Power Supply DIY Battery Charger
- 12V-220V 500 Watt inverter DIY Homemade
- 12V-220V H-Bridge Inverter DIY Homemade
- MPPT Solar Charge Controller DIY Homemade
- 18650 battery bank free charge protection module
- D718 B688 Bass Amplifier Homemade DIY
- C5200 Bass Amplifier DIY Homemade with Volume
- DIY LA4440 bass amplifier homemade
- C5200 A1943 TDA2030 Amplifier DIY Homemade


