Introduction
I have made Adruino 4-In-1 Digital Meter. I hope you will enjoy this video. Gerber files and circuit diagrams are given below. Please comment and share.
Digital energy meters also called advanced meters or smart meters, are intelligent devices that automatically display the consumption of electricity. After the data is collected, digital meters can electronically record or gather the information for future use. The following project doesn’t have any recording system attached. It’s a simple and easy project for beginners and students where you can see the current DC voltage, ampere and watts consumption, etc.
The Arduino 4-in-1 Digital Meter is the perfect tool for anyone looking to measure several parameters in one compact device. The meter measures voltage, current, power, and energy so users can accurately track changes in equipment performance over time. It is powered by an open-source platform which makes it highly customizable and programmable. Its easy-to-read LCD screen displays real-time data. Lastly, its preassembled design allows a virtual plug-and-play experience with only minimal setup required making it a no-brainer choice for anyone wanting to keep a close eye on electrical values without breaking the bank.
Circuit diagram of Adruino 4-In-1 Digital Meter
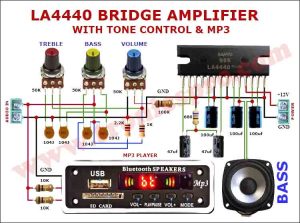
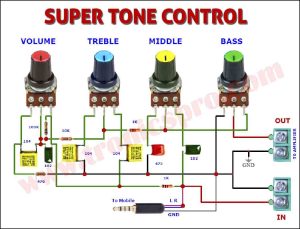
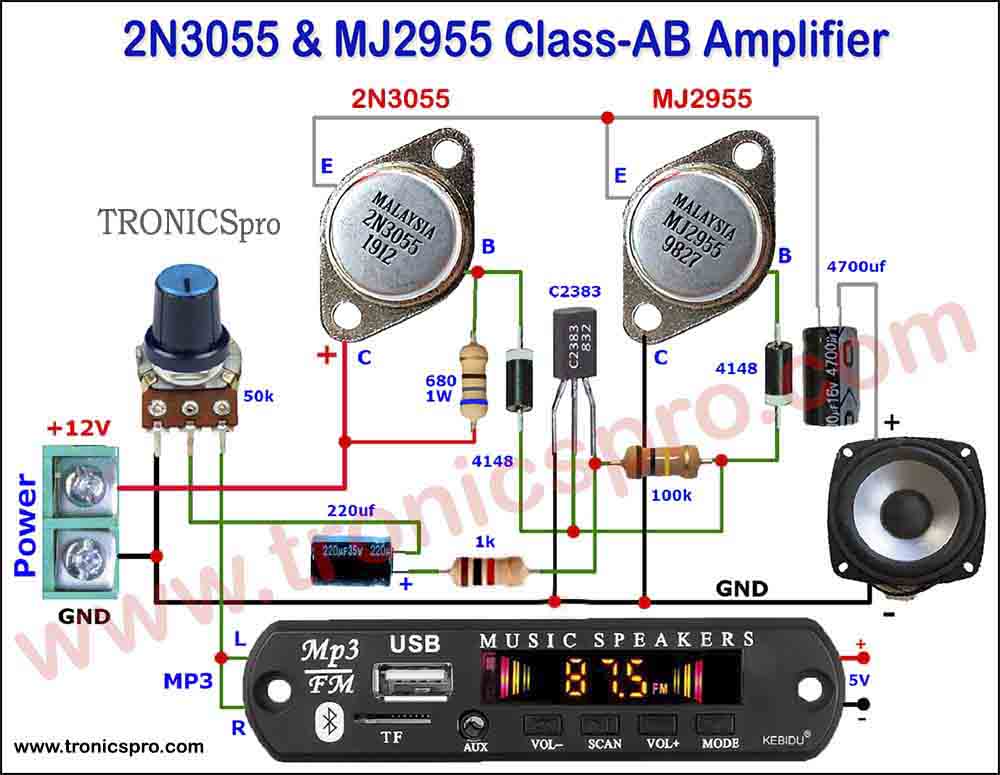
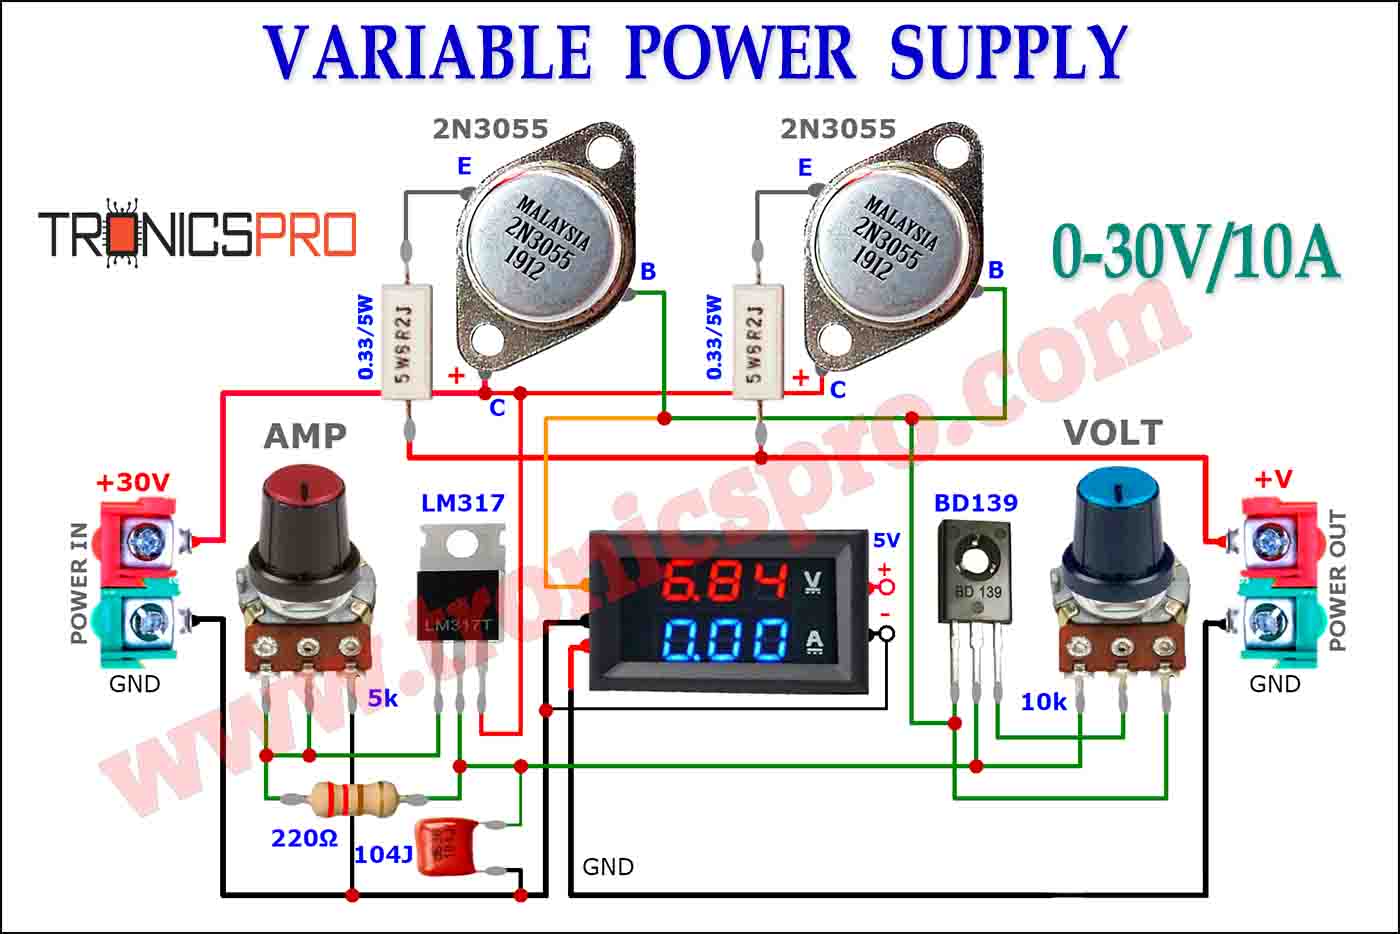
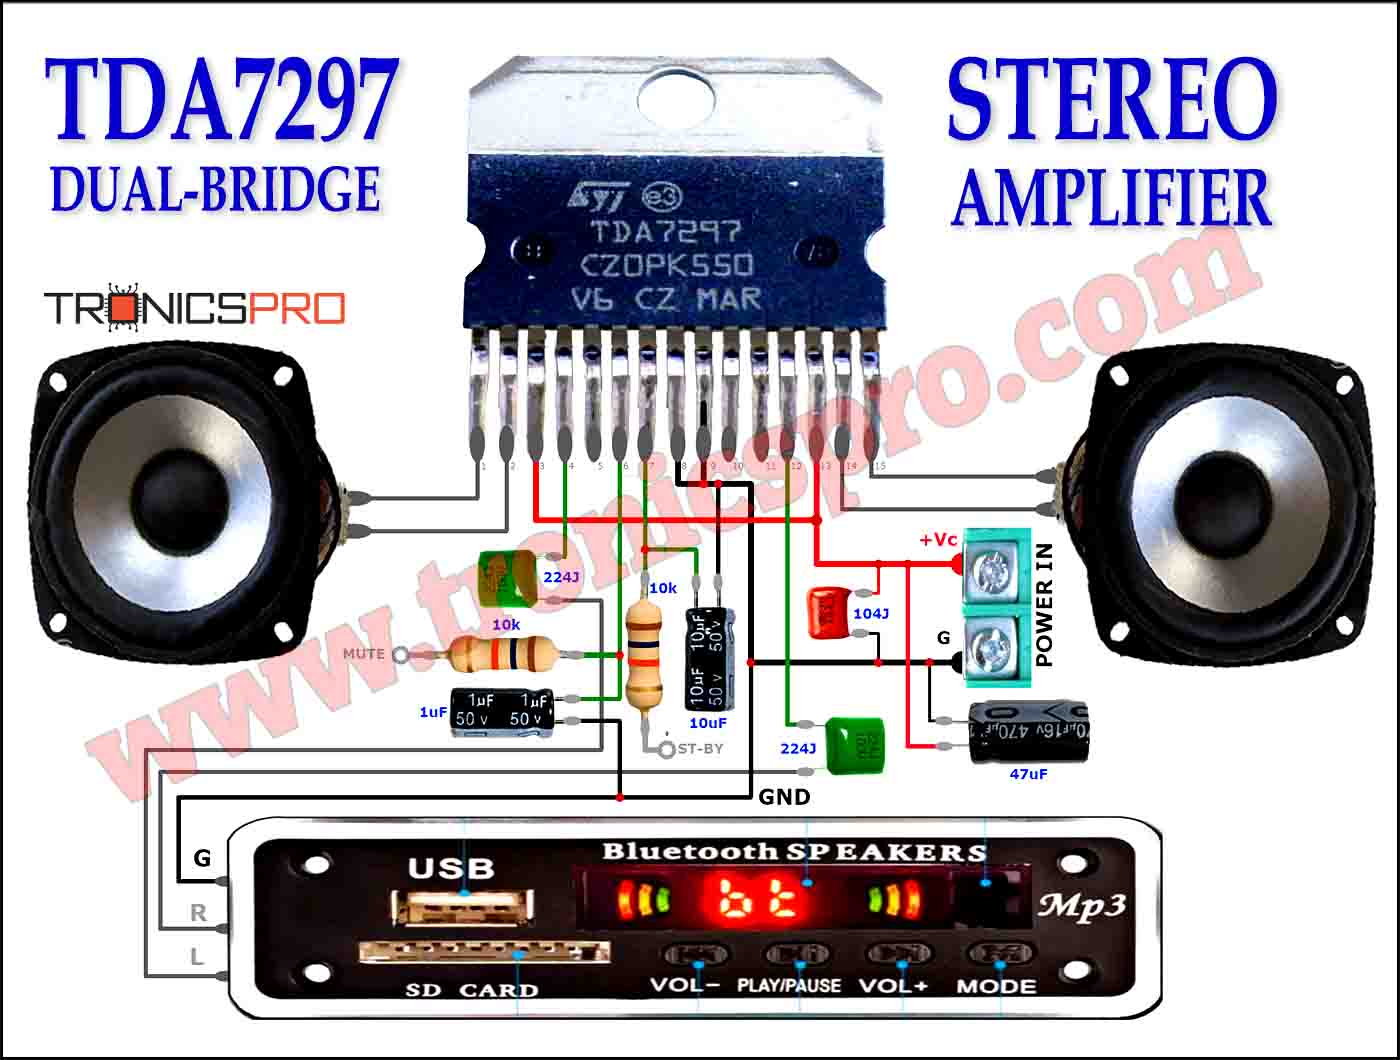
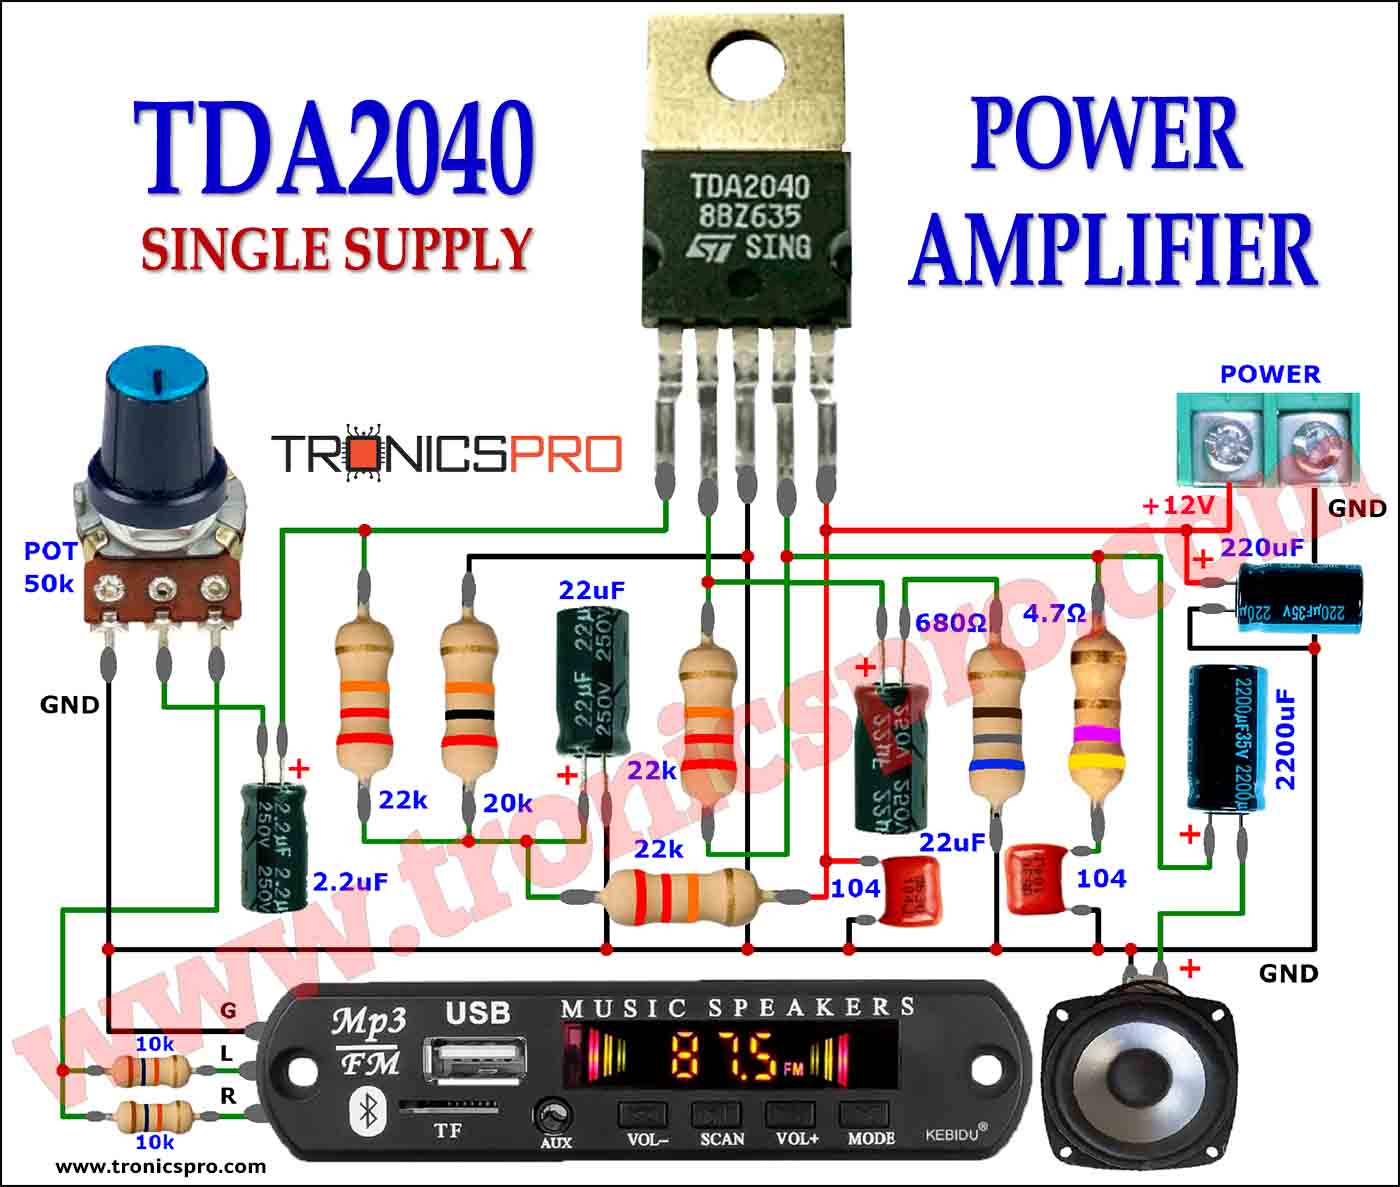
More Circuit Layouts


Programming Code
used in Adruino 4-In-1 Digital Meter
#include <LiquidCrystal.h>
LiquidCrystal lcd(2,3,4,5,6,7);
int a,b,c;
long volt,current,power,ah;
unsigned long msec = 0;
float time = 0.0;
int sample = 0;
float totalCharge = 0.0;
float averageAmps = 0.0;
float ampSeconds = 0.0;
long ampHours = 0;
void setup()
{
  lcd.begin(16, 2);
Serial.begin(9600);
}
void loop()
{
 for(int i=0;i<200;i++){
c = analogRead(A1);
a = analogRead(A0);
volt=volt+a;
  current=current+c;
 delay(1);
 }
 current=(current/200-514);
  if(current<1)current=0;
  current=current*15;
   volt=volt/30;
   power=(volt*current)/1000;
 //--------------------
     sample = sample + 1;
  msec = millis();
 time = (float) msec / 1000.0;
 totalCharge = totalCharge + (current);
 averageAmps = totalCharge / sample;
 ampSeconds = averageAmps*time;
 ampHours = ampSeconds/3600;
 //--------------
        Serial.print(volt);
        Serial.print("  ");
        Serial.print(current);
        Serial.print("  ");
        Serial.print(power);
        Serial.print("  ");
        Serial.print(ampHours);
        Serial.print("  ");
        Serial.println(time);

  lcd.setCursor(6,0);
  lcd.print("V");
  b=volt%10;
  lcd.setCursor(5,0);
  lcd.print(b);
  b=(volt/10)%10;
  lcd.setCursor(4,0);
  lcd.print(b);
  lcd.setCursor(3,0);
  lcd.print(".");
  b=(volt/100)%10;
  lcd.setCursor(2,0);
  lcd.print(b);
  b=(volt/1000)%10;
  lcd.setCursor(1,0);
  if(volt>999)lcd.print(b);
  else lcd.print(" ");

  lcd.setCursor(14,0);
  lcd.print("A");

  b=current%10;
  lcd.setCursor(13,0);
  lcd.print(b);
  b=(current/10)%10;
  lcd.setCursor(12,0);
  lcd.print(b);
  lcd.setCursor(11,0);
  lcd.print(".");
  b=(current/100)%10;
  lcd.setCursor(10,0);
  lcd.print(b);
  lcd.setCursor(6,1);
  lcd.print("W");
  b=power%10;
  lcd.setCursor(5,1);
  lcd.print(b);
  b=(power/10)%10;
  lcd.setCursor(3,1);
  lcd.print(b);
  lcd.setCursor(4,1);
  lcd.print(".");
  b=(power/100)%10;
  lcd.setCursor(2,1);
  if(power>99)lcd.print(b);
  else lcd.print(" ");
  b=(power/1000)%10;
  lcd.setCursor(1,1);
  if(power>999)lcd.print(b);
  else lcd.print(" ");
//------------
  lcd.setCursor(14,1);
  lcd.print("AH");
  b=ampHours%10;
  lcd.setCursor(13,1);
  lcd.print(b);
  b=(ampHours/10)%10;
  lcd.setCursor(12,1);
  lcd.print(b);
  lcd.setCursor(11,1);
  lcd.print(".");
  b=(ampHours/100)%10;
  lcd.setCursor(10,1);
  lcd.print(b);
  b=(ampHours/1000)%10;
  lcd.setCursor(9,1);
  lcd.print(b);

  delay(100);
}
Project Images
The Arduino 4-in-1 Digital Meter project is an amazing way to get started with using microcontrollers, and the accompanying working images really help bring the project to life. It’s pretty cool how these little parts come together to monitor voltage, watts, and ampere — all from a single board. Plus, once it’s all put together you can easily access the readings through a digital display for further analysis or alerts. With a bit of tinkering here and there as you go along, this project has the potential to become a very useful automated system in your home.
Image-1

Image-2

Image-3

Components List
used in Adruino 4-In-1 Digital Meter
- 1x ARDUINO NANO
- 1x 16X2 LCD
- 1x ACS712 (30A) MODULE
- 1x 10K TRIMPOT
- 1X 2K 2RESISTOR
- 1X 47K RESISTOR
- 2X 2-PIN TERMINAL BLOCKS
- 1X PERF BOARD
- JUMPER WIRES
Download Gerber File
Gerber File: https://drive.google.com/file/d/1JOrV…
Watch Video Tutorial


